3-D Print Prototyping
Published on
August 13, 2015
By Brian
User Experience Architect
Whether it is for your brand, your clients or to earn new business, we are constantly looking for ways to step outside the box. Making two-dimensional prototypes has always been part of what a branding agency does. Now, with the advent of low-cost 3-D printing, we have the ability to build high-quality 3-D prototypes in-house.
3-D printing has been around for a while. The technology has gotten better, but it still takes an investment of time to understand both the capabilities and limitations of the technology. There are many types of 3-D printing, but the most popular today is fused deposition modeling (FDM). FDM printers work by melting a plastic filament and extruding it out a robotically controlled fine-tipped nozzle to build up each layer of the object. To support upper layers, thin web-like support material is printed that can be broken away or dissolved after printing is completed.
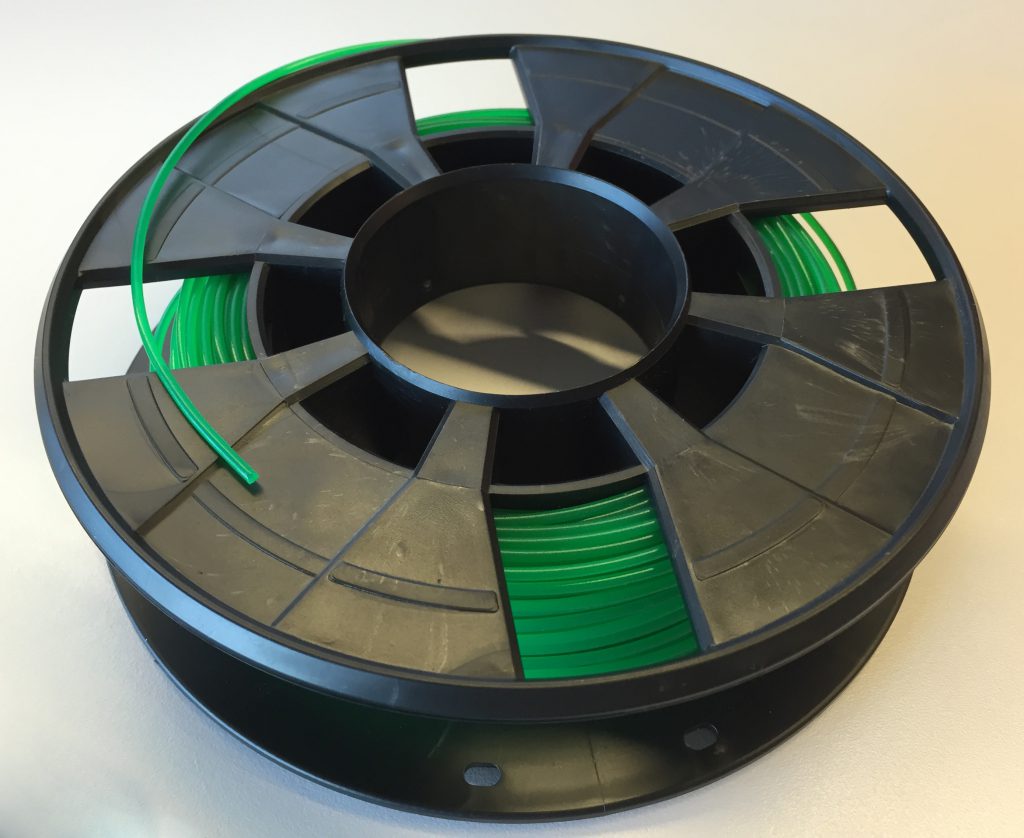
Spool of filament
Let’s review the typical process of creating a 3-D printed prototype. I’ll be using prints of an example model to illustrate some of the concepts.
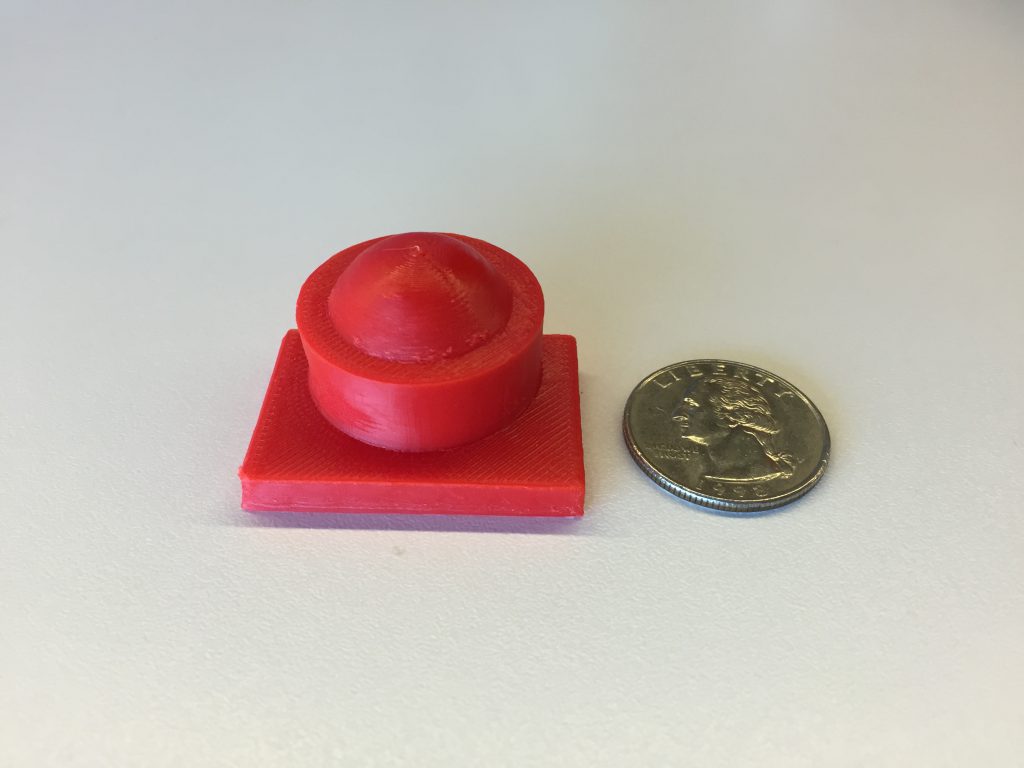
Our example model is roughly the size of a quarter
Step 1: Design the Object You Want to Print
Like any printing process, you need to design with the end medium in mind, just like designing for process color is different than for spot color. Any 3-D printing process has two key limitations: build volume and layer resolution.
All 3-D printers are limited by the size of object they can build. The MakerBot Replicator 2 has a build volume of 9.9” x 7.8” x 5.9”, which is average for currently available desktop 3-D printers. The build volume has to be considered for not just the size of the object being printed, but also the orientation in which the object will be printed. For example, a tall object might fit in the print volume when on its side, but the quality of the print might suffer.
Layer resolution indicates, as its name suggests, the smallest layer thickness the printer supports. Generally, most prints are made using “medium” resolution, which is frequently considered to be double the layer size of the highest resolution available. The Replicator 2 has a maximum layer resolution of 0.1 mm. That would mean its medium resolution is 0.2 mm. Most people find that objects printed at 0.2 mm resolution are acceptable. Printing at high resolution can be difficult and time-consuming. You have to get the extruder temperature just right and have a very consistent temperature in the build chamber for successful printing. These temperature settings can change based on the brand/quality of the filament and often have to be determined by trial and error. In contrast, standard resolution prints are much more forgiving. Just keep in mind: If you design your object to contain fine details, you need to be prepared for some tricky printing.
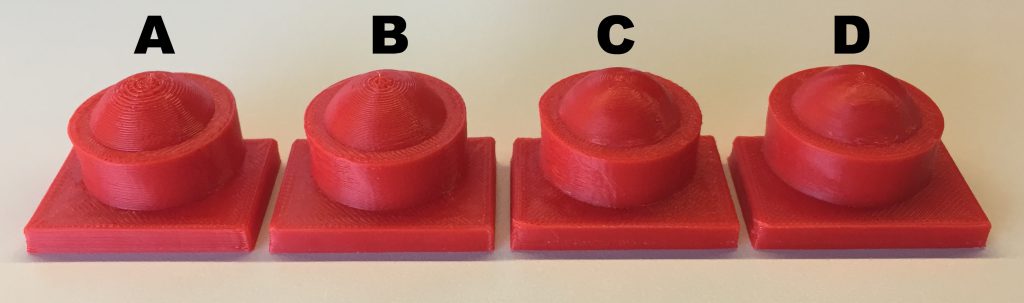
Four prints at different resolutions. Refer to the chart below for details.
| A | B | C | D | |
| Print quality | Low | Medium | High | High |
| Resolution | 0.3 mm | 0.2 mm | 0.1 mm | 0.1 mm |
| Layers | 78 | 115 | 225 | 225 |
| Print speed | Default | Default | Default | ~1/2 default |
| Time to print | 19 minutes | 28 minutes | 59 minutes | 2 hours 40 minutes |
Step 2: Prepare the Model for Printing
Once the 3-D modeling of your object is complete, you need to generate the instructions for the printer to follow when printing your object. This process is called “slicing” and is done using specialized software appropriately called a “slicer.” When slicing your model for printing, you have the ability to tweak many settings related to your print. Temperature of the print nozzle and platform, speed of the print head, resolution of the print and type of supports are just a few of the settings available.
Next, you need to consider the orientation of the object to be printed. There are two main considerations when deciding this. First, the sides of an object will print more smoothly than the top and bottom, especially when there are curves involved. So, for example, if you are printing a cylinder, you should print it standing on its end. Second, parts that overhang at more than a 45° angle need support material built up for them. Unless you are using dissolving material for this purpose, the surfaces where the support material connects to your model will be very rough.
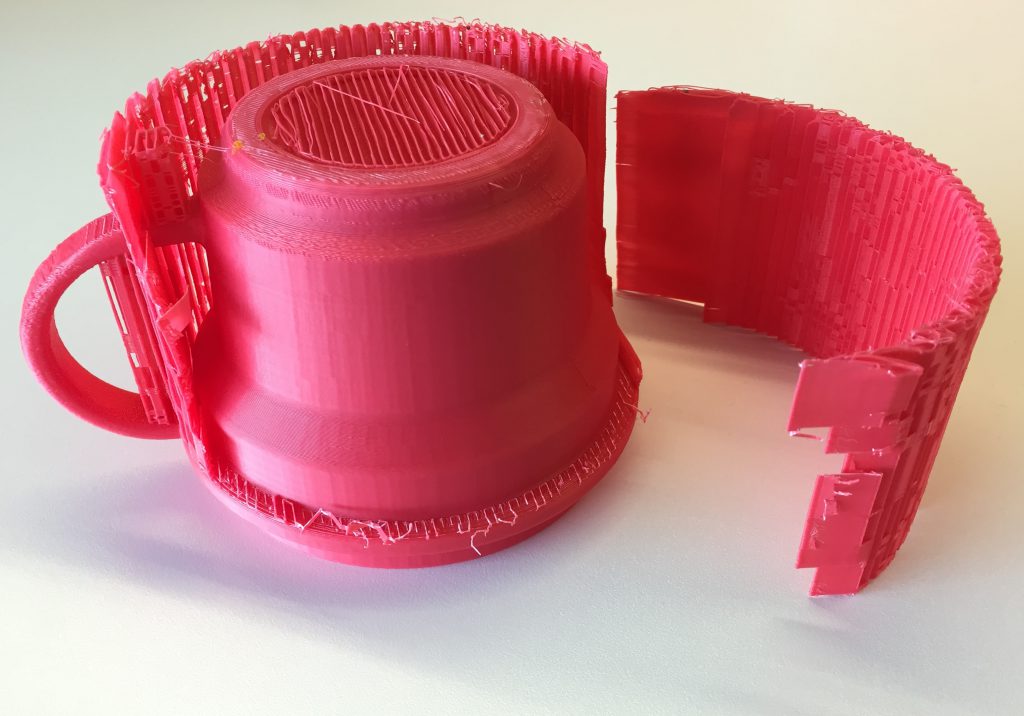
The printed support structure from a 3-D print of a coffee cup. The cup was printed right side up, but is turned over to better show the support material and resulting rough surface. The overhang on the lip of the cup required the support structure.
To get the best print quality, you might consider printing your model on its side or even upside down. For example, if you are printing a bowl, will the inside or outside be more visible. If the answer is the outside, you might consider printing it upside down, so that the rough surface caused by the support material is inside the bowl instead of around the outside.
If you are really interested in understanding how to optimize the placement of your 3-D model, I highly recommend 3D-Printed Lightsaber: Design Philosophy and Printing Tips.
Step 3: Print Your Model
Many of the factors in getting a successful print have already been decided by this point. The main concern here is how long it takes to print your object. Small objects, such as a LEGO® brick, can take less than an hour, but larger objects, such as a coffee cup, can take 12 to 16 hours. Plan accordingly. Unless you have lots of experience and have printed successfully with the filament you are using, you can anticipate several failed prints. So don’t wait until the day before a presentation, expecting to print overnight.
Step 4: Finish Your Model
A newly printed 3-D object with all of its support material can look little like the finished object. Even after all the support material has been removed, there may be many rough surfaces that need to be smoothed. Most 3-D printing materials deform and pill up when sanded too vigorously, so motorized sanding is typically not an option. Sanding is also not recommended, unless you plan on sanding all surfaces to make them look consistent. 3-D prints are not smooth, but instead have a slightly rough satin look to them. Sanding scuffs up that surface and makes it look powdery, dulling the color of the object. Sometimes you can get the best results by scraping and cutting the unwanted bits with a sharp knife.
If you are looking for more of a gloss finish and you have been printing with ABS plastic, you can treat your object with acetone vapor. This can be done by putting your object in a sealed container for an hour or two, with acetone-soaked paper towels. This slightly melts the surface of your model, giving it a very shiny appearance. You have to be careful when using this technique. Leaving your object in the acetone vapor for too long can cause smaller details to melt away completely.
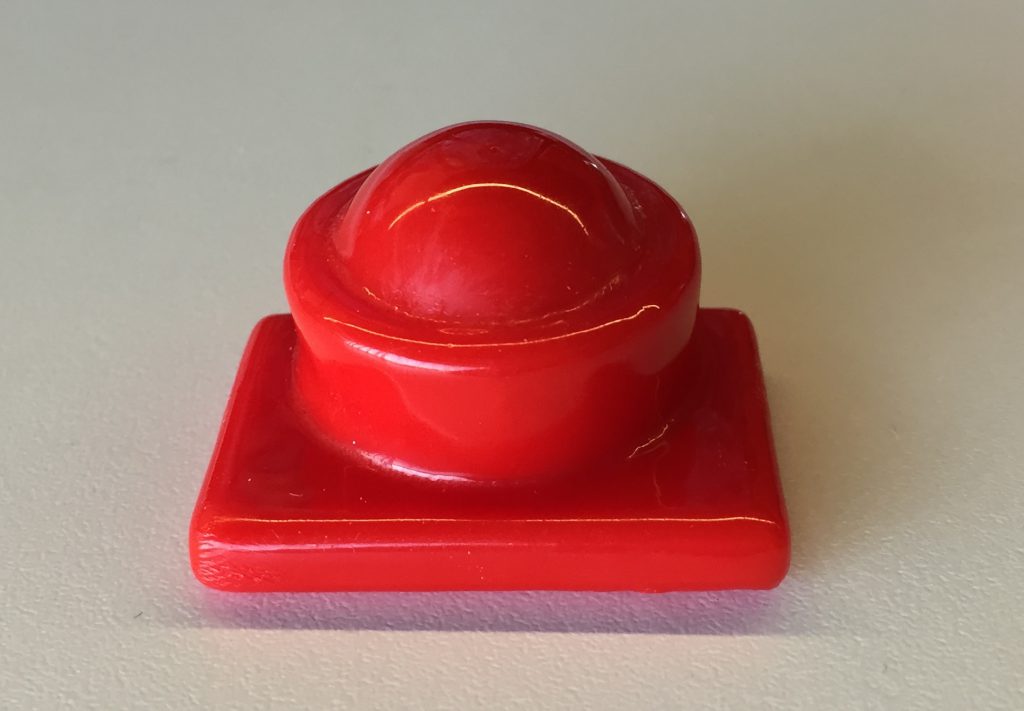
Example after being treated with acetone
Like most things, a basic understanding of the process and pitfalls goes a long way toward success. Learning from others’ experience can be insightful and save you a lot of frustration. I’ve found the insights in the support forums of any given 3-D printer can really provide a wealth of information (and save you a lot of wasted printing). With a bit of technical know-how and a spark of creativity, the next big idea for your brand can reap the benefits of 3-D printing.